Hi there,
I've finally gotten around to finishing my A1222 build using a Checkmate A1500 Mini case. Well, almost finished. I still have no audio output at the moment, but hopefully soon!

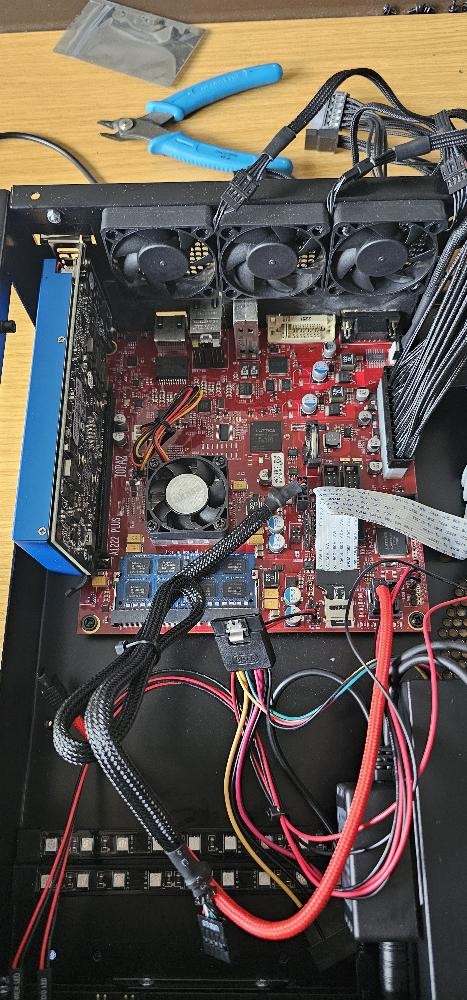
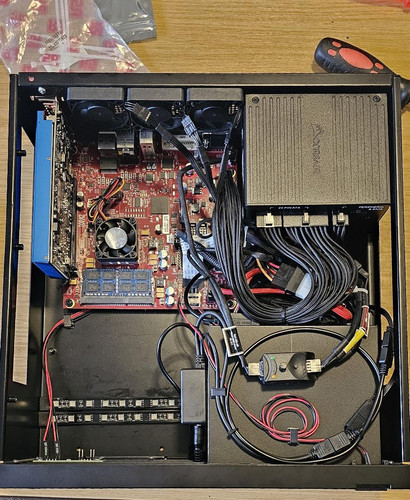
The following image shows the A1222 motherboard with graphics card fitted to the case. I also fitted some exhaust fans to the casing.
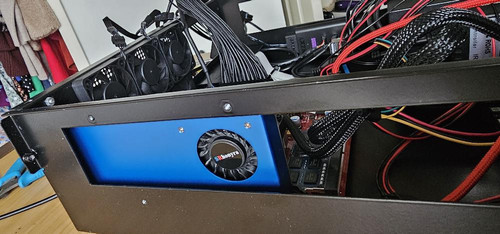
Another view of the graphics card. The card is an SRhonyra Radeon RX550. The manual for the Checkmate case recommends a card with a blower type fan so that the heat is expelled from the case rather than being blown back into the case. I had a bit of difficulty trying to get one of these types of card (i.e. low-profile single width with a blower) and eventually had to get one imported from the US.
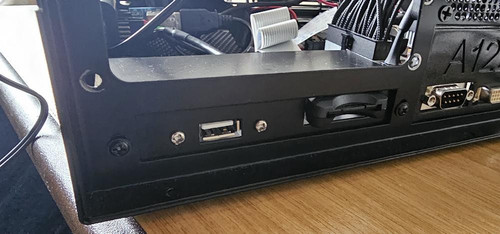
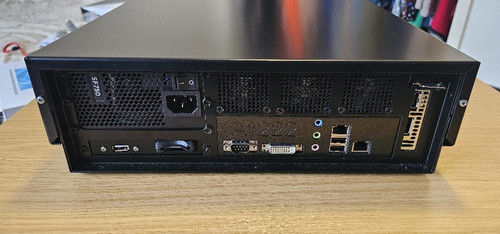
Around the back of the case, just under where the PSU would be mounted, I've fitted an external full-size SD card slot (with micro SD adapter) and additional USB socket (you can never have enough USB sockets in my opinion

). The SD card slot goes directly to the micro SD card slot on the A1222 motherboard and just makes it easier if I ever need to do anything with the card. The USB socket is attached to an internal USB hub.
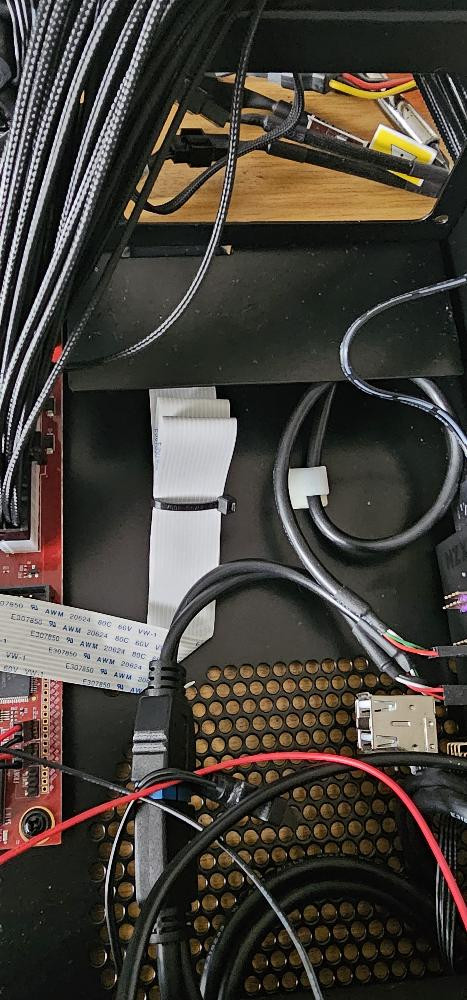
View of the ribbon cable for the external SD card slot. The ribbon cable was really long, so I've cable tied it to try and tidy it up a bit.
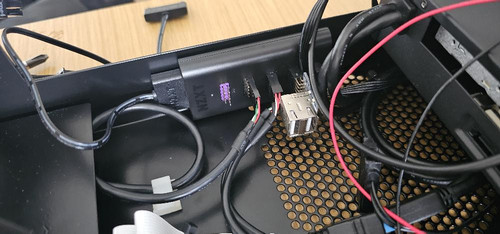
The USB hub, which is an NZXT Internal USB Hub 3. This provides 4 USB headers (so up to 8 USB ports). The purple header connects to the USB header on the motherboard. A nice thing about the hub is that it is magnetic so it just sticks to the metal of the casing. It's also powered by the SATA power connections, so no need to worry about the connected devices not working due to lack of power.
I've also fitted a USB header to dual USB ports adapter so that I can attach it to the DVD drive via a USB to SATA adapter. I'm using USB for the DVD drive as the current A1222 SATA drivers seem to have a bit of a problem with optical drives. If this ever changes I will switch the DVD drive back to SATA.
When I got the Checkmate A1500 Mini I was a little disappointed that there were no front mounted USB ports. I ended up getting this housing which can accomodate an optical drive, 2.5" hard drive (which is behind a door and is easily removable) and has 2 USB ports. This was another item that I struggled to find in the UK, so I had to get it imported from the US. It's also USB 3, so requires a USB 3 to USB 2 header adapter and is connected to the NZXT USB hub.
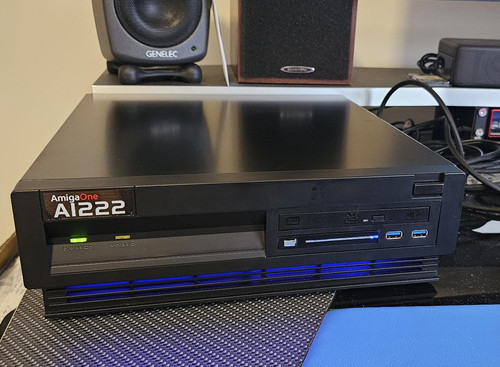
You can also see the fancy rainbow lighting I fitted through the grill.

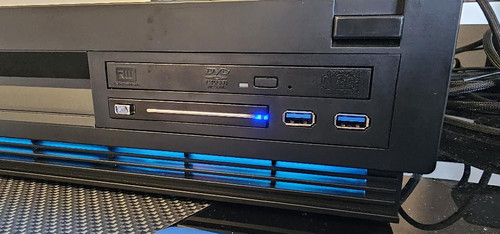
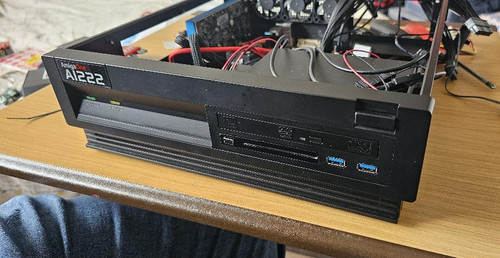
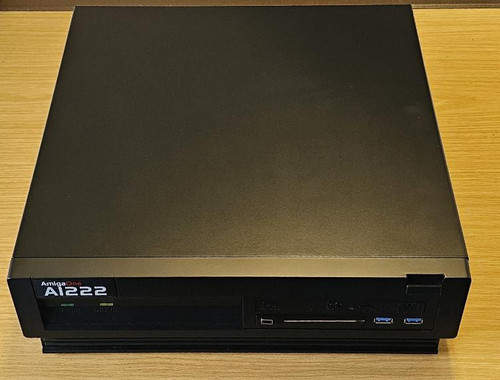
Full view of the front of the casing. I think the 5.25" drive bay housing matches quite nicely with the rest of the case.

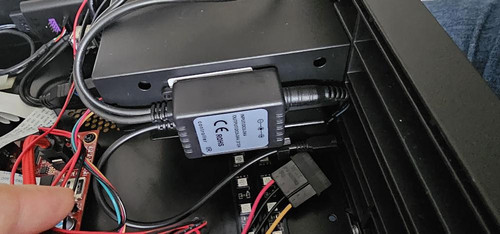
This is the control box for the LED rainbow lighting which has been stuck to the side of the 5.25" drive bay housing using its supplied double-sided sticky pad. It's powered from SATA and has an IR sensor for a remote control that allows you to change the settings. I have the IR sensor mounted at the grill openings which you should be able to see in the photo.
The LED strips are magnetic, so it's easy to place them inside the case. I would have liked to have placed them nearer the grill, but the bracket for the 5.25" drive bay housing prevents that.
Mounted the power supply, a Corsair SF750. It's my first time seeing these types of power supplies and they are really petite and almost cute compared with the usual ATX types I'm used to. I also did some cable tidying, although there is room for improvement.
The device sitting on top of the optical drive housing is a Noctua NA-FC1 fan-speed controller for 4-pin PWM fans. The three rear mounted case fans when they are running full-tilt were a bit noisy for my liking, so with the controller I've adjusted them so they are now running almost silently.
The assembled system.
Rear view of the assembled system.
And another shot of the system powered up with the LED lighting.
Despite there being a few things about the Checkmate A1500 Mini case that annoyed me, this was quite a fun build.
If you have any questions about this build, please feel free to ask.
Kind regards,
Francis

 Donate


 ). The SD card slot goes directly to the micro SD card slot on the A1222 motherboard and just makes it easier if I ever need to do anything with the card. The USB socket is attached to an internal USB hub.


 But I like it...
